
How (and Why) I Mill Moss
Today is moss-milling day (AKA the day I wonder why I ever thought white kitchen counters were a good idea)
Why mill moss?
For me there are two good reasons:
- Compared to long strands of moss, it’s so much easier to remove the moss from the roots when you’re moving to another substrate.
- You can make your substrate much more consistent. That means you can avoid clumps of moss that hold more water than other areas. I also find it stops the moss compacting which can lead to inconsistent watering.
I got the idea from US grower, Justin Jones (@createdinagarden) and I haven’t looked back.
What will I need?
Sphagnum moss!
I get mine from Mella’s Jungle. It’s the most beautiful pink and green fresh moss, ethically sourced from forests in Wales. I’m not affiliated, just a fan. If you’re using dried moss, rehydrate it well first.
A blender
You can use a food processor or a hand-held blender like I do. Be aware you will need one with a bit of power (I learned my lesson by burning out the motor on my first two pretty quickly). The one I use now is 1200W.
A bowl or tub
One with deep sides (you don’t want it to overflow when the blender gets going).
A colander or sieve
One with a relatively fine mesh so you don’t lose the super blended bits.
That’s it!
How do I mill moss?
I’ve got to be honest, it’s not my favourite job. But really the only difficult thing about it is not spraying yourself with sludgy water/moss slime. If you can do it outside, then I’m jealous as you’ll have a much easier time than me.
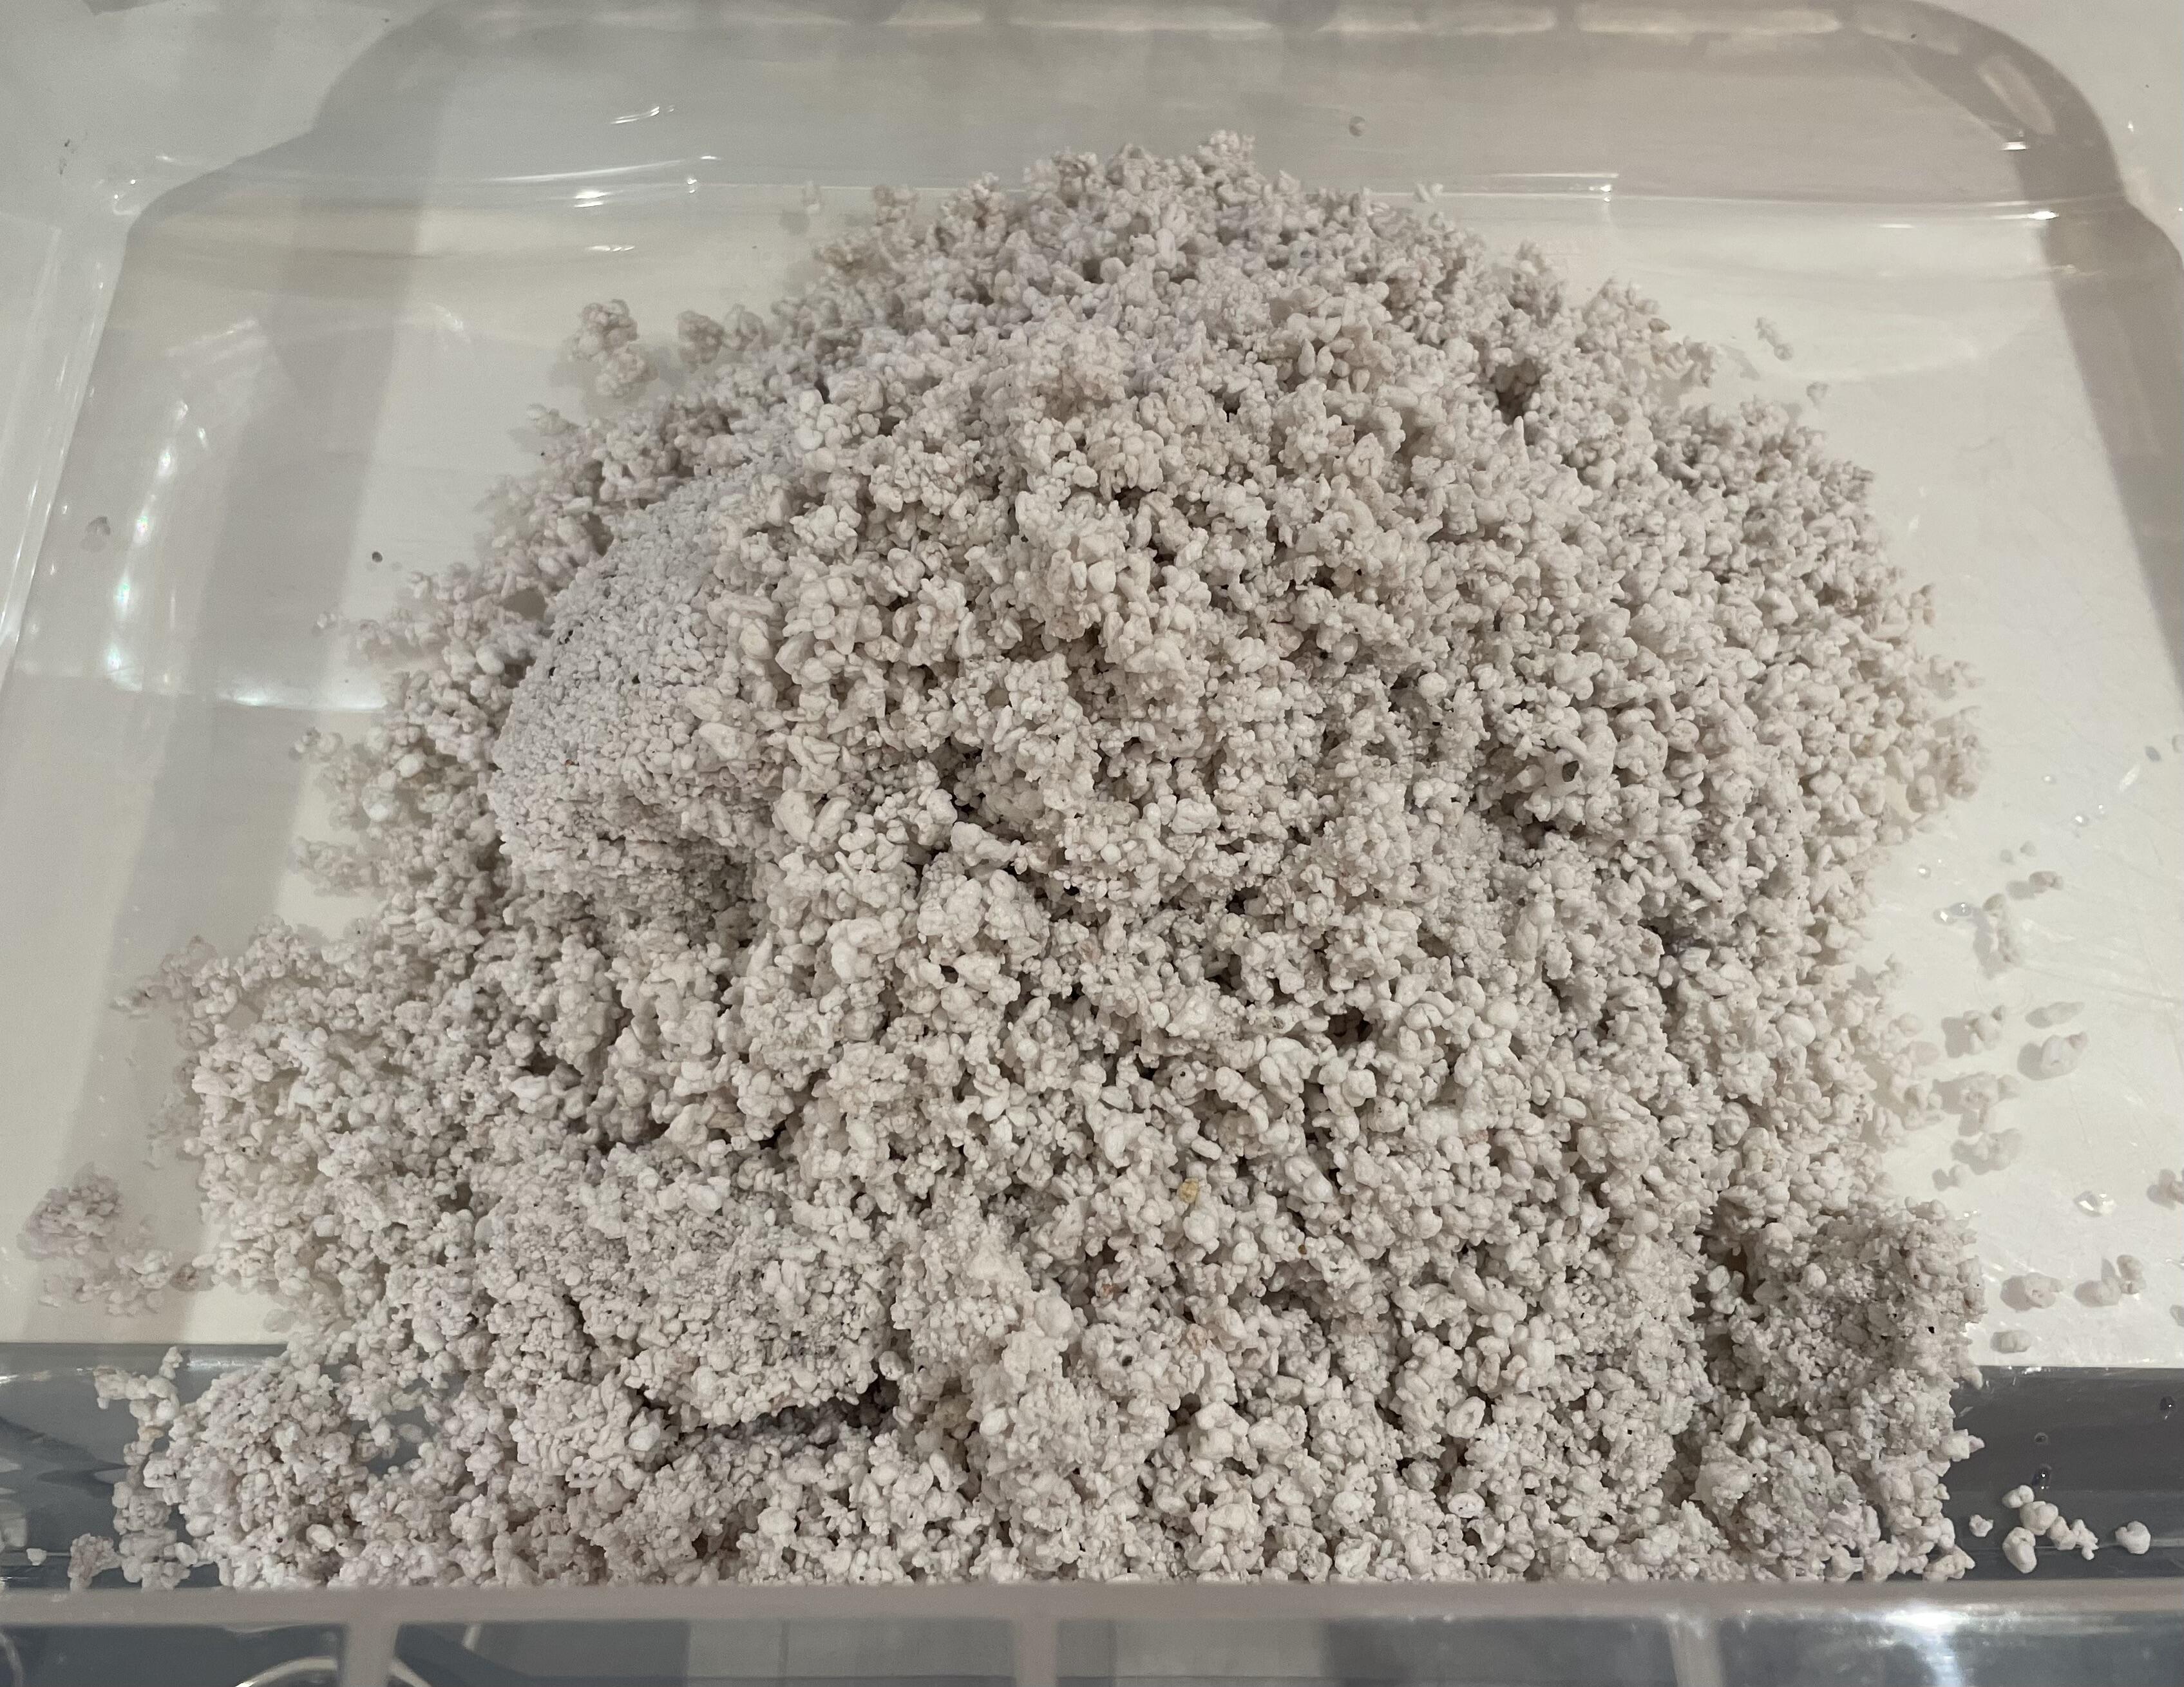
Step 1: this is not strictly necessary as you can use straight moss, but I start by adding a load of rinsed perlite to the tub. Wear a mask when you pour out dry perlite as it’s nasty stuff. I use perlite to give a bit of aeration to the mix.
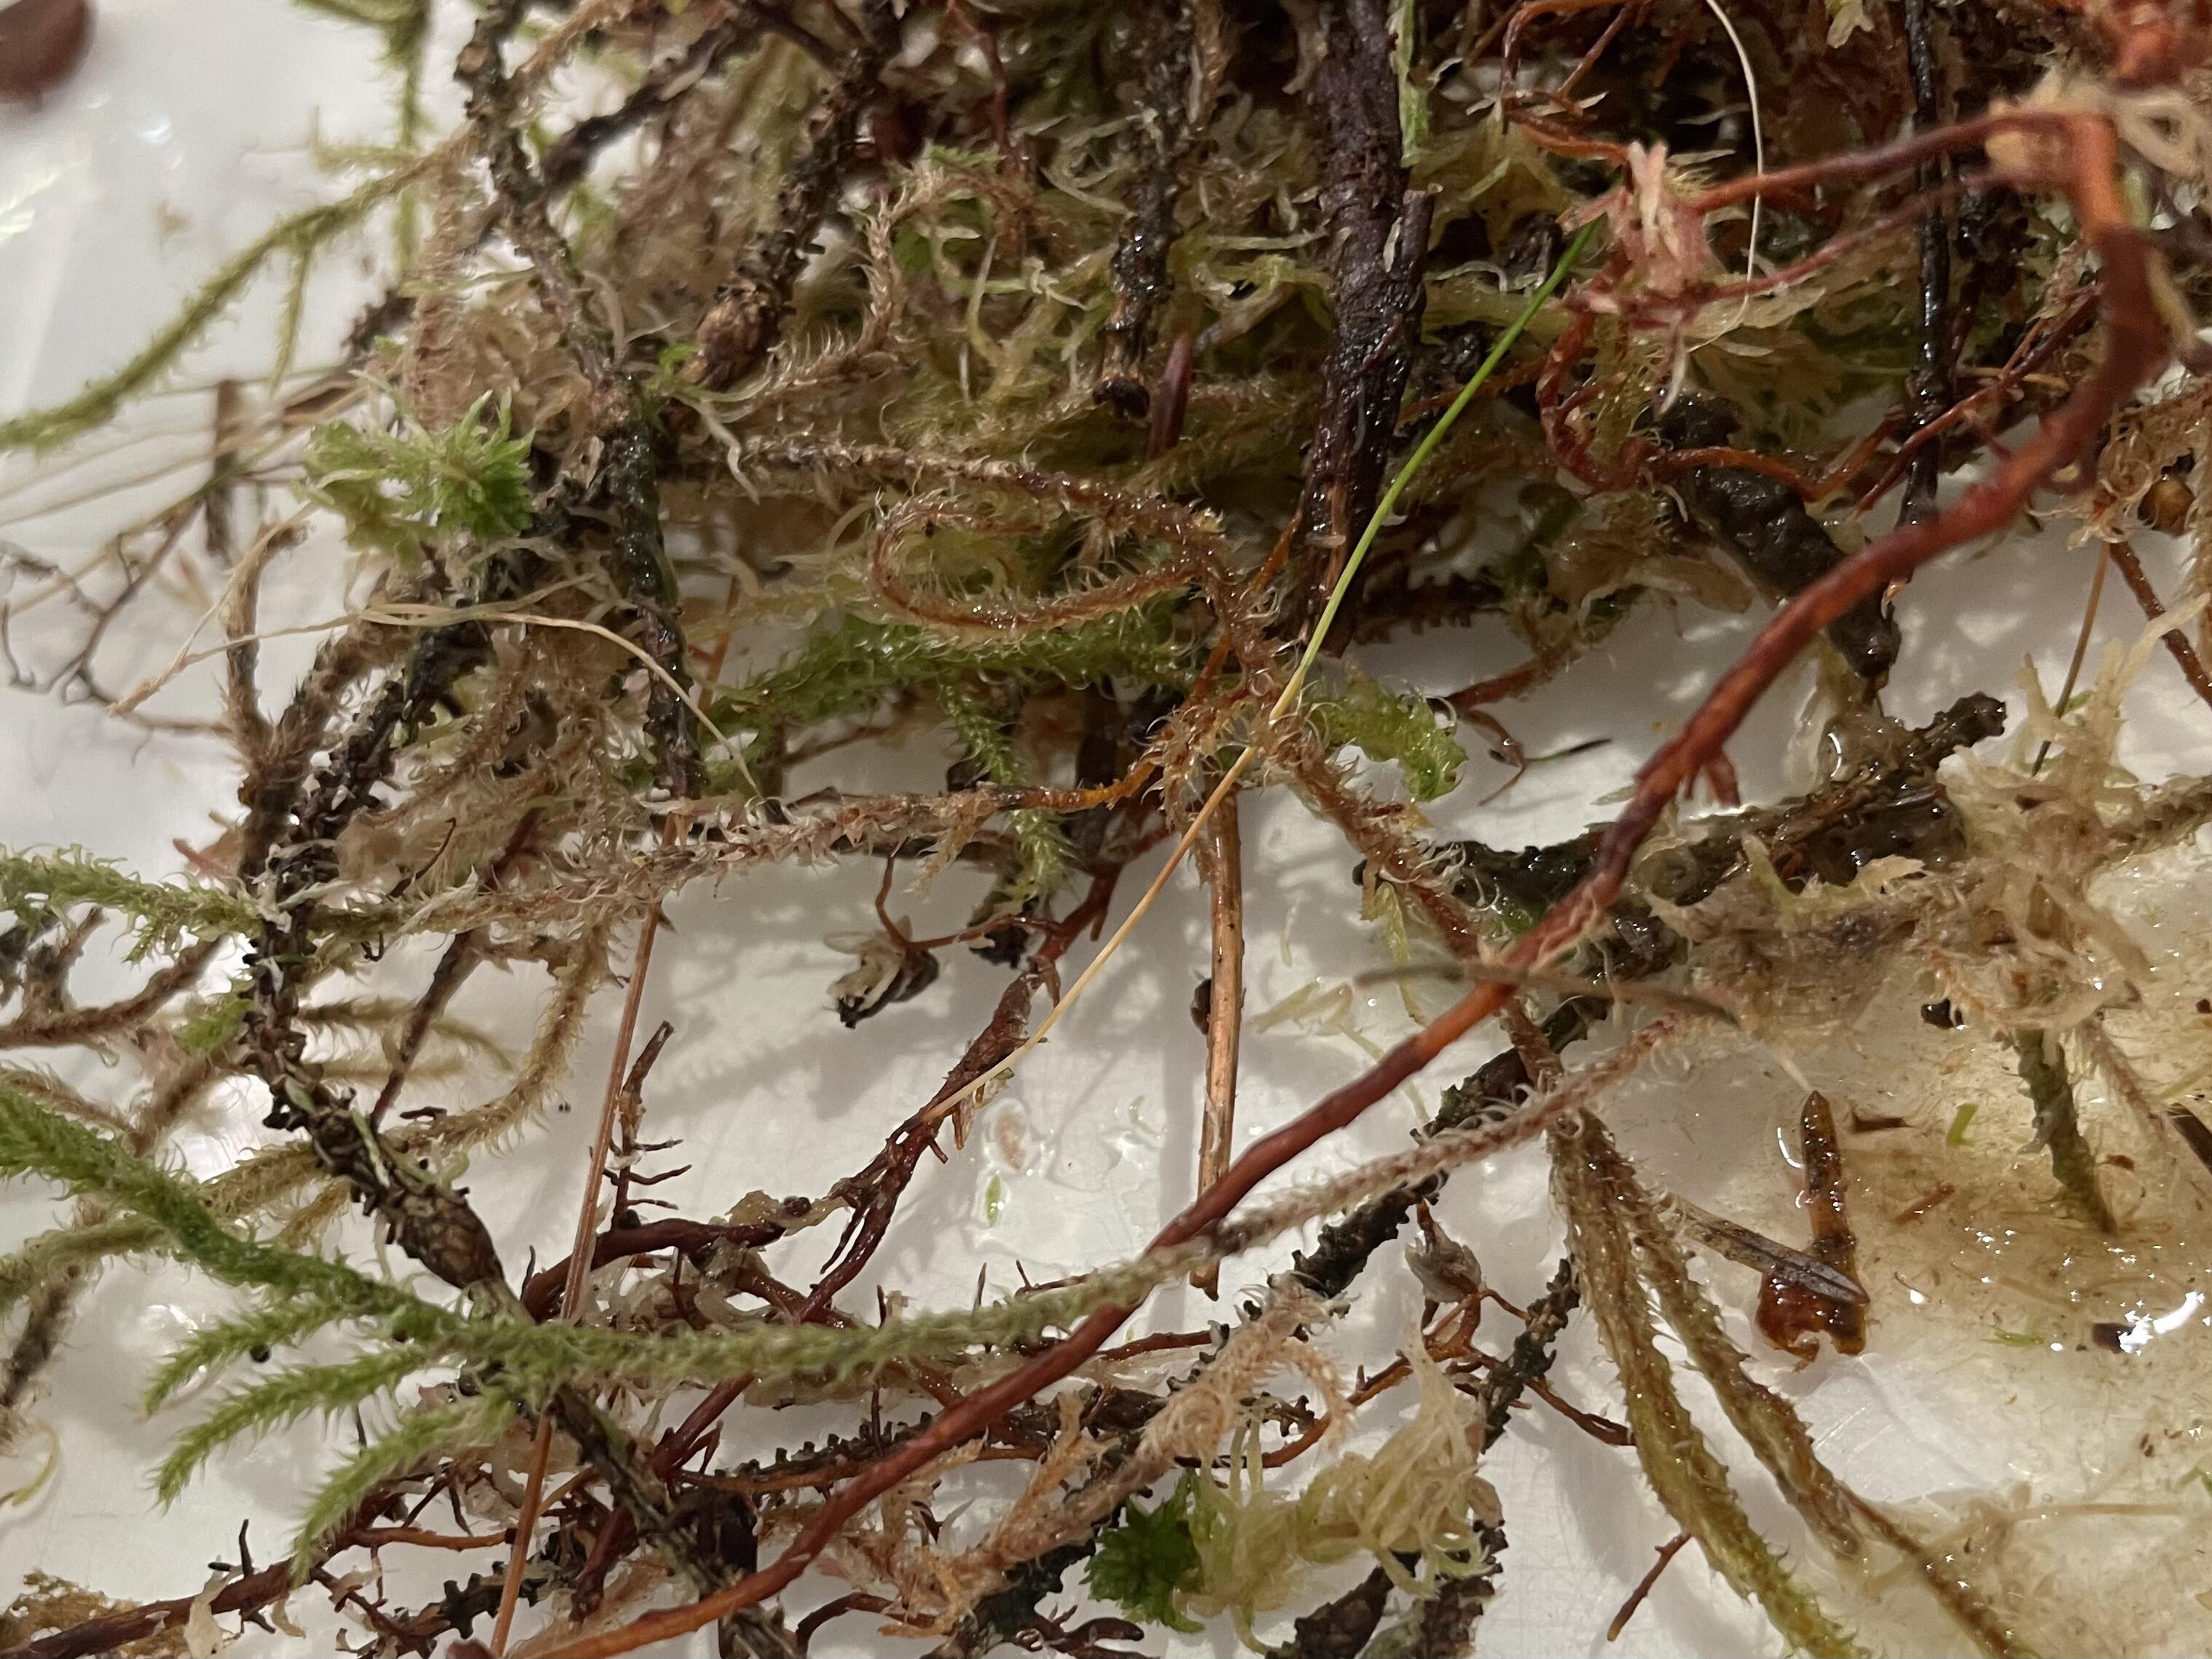
Step 2: separate your moss a bit and pick out any particularly twiggy or stringy bits (your blender blade will thank you).
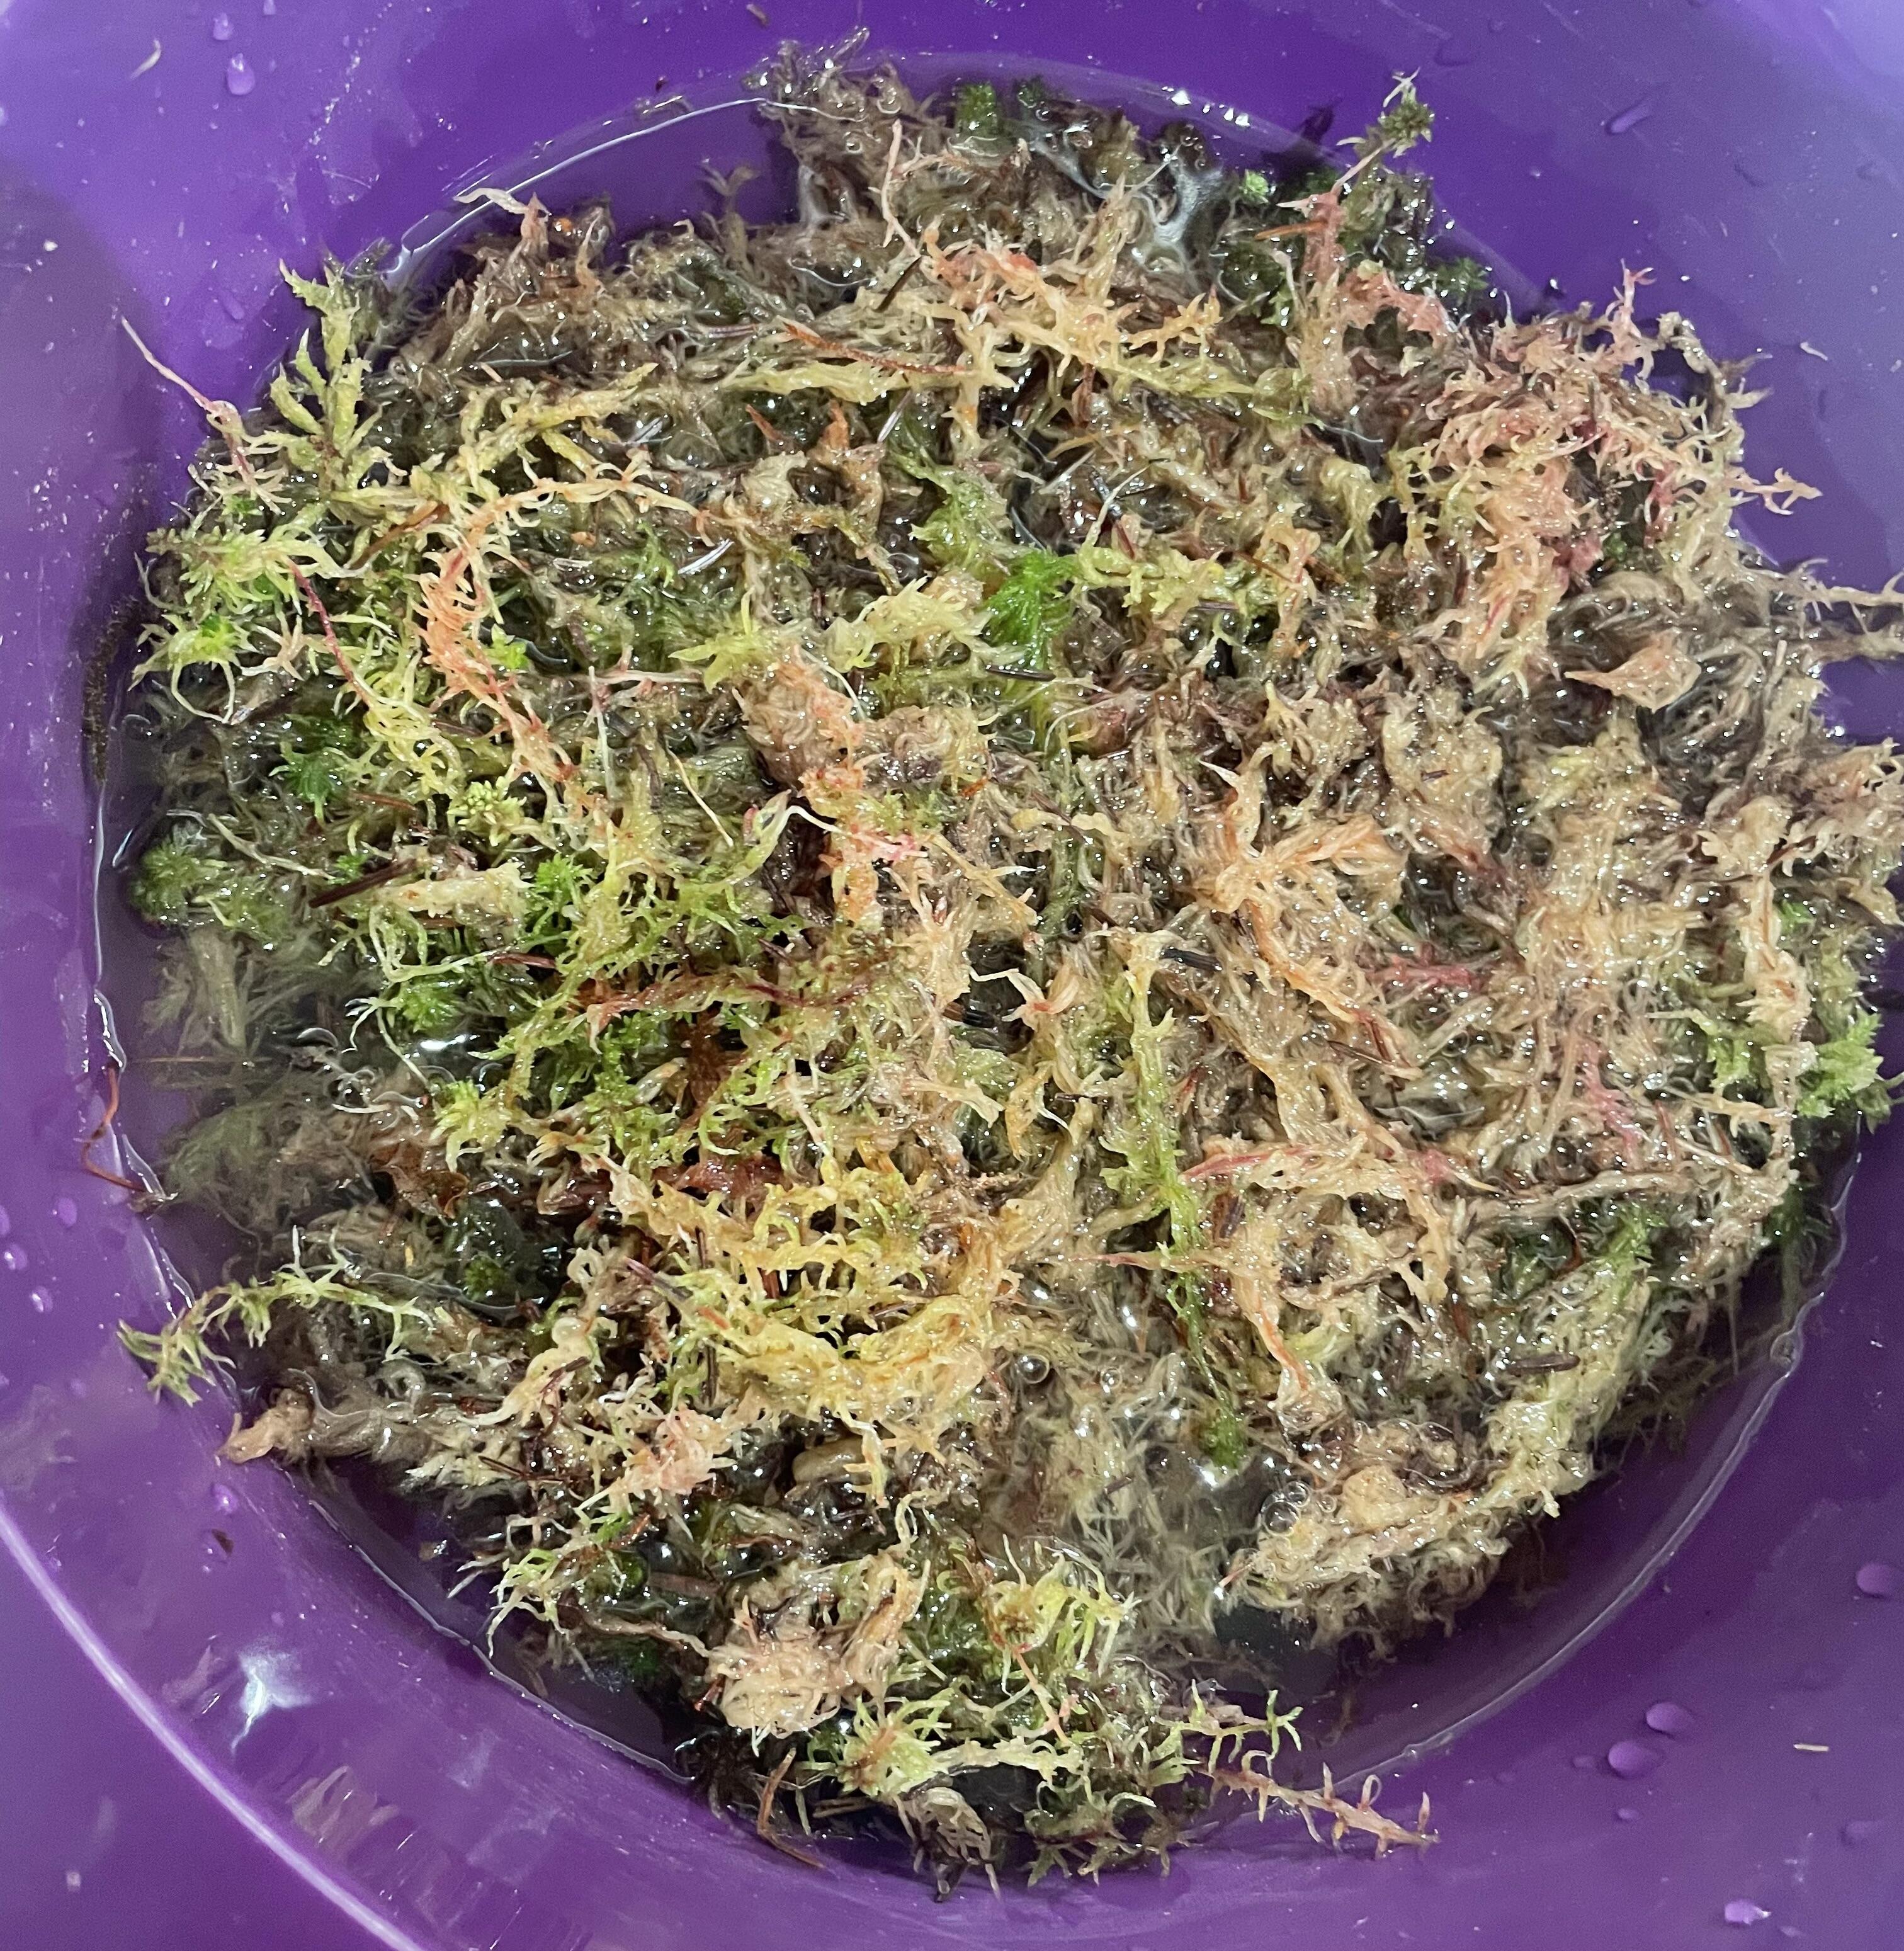
Step 3: add water to almost cover the moss. Don’t overfill your bowl! I think it helps to let it sit and soak for 10 minutes or so.
Step 4: if you’re using a hand-held blender, get the head of it under your pile of moss. Make sure it never breaks the surface or you’re gonna get slimed, as will everything else.
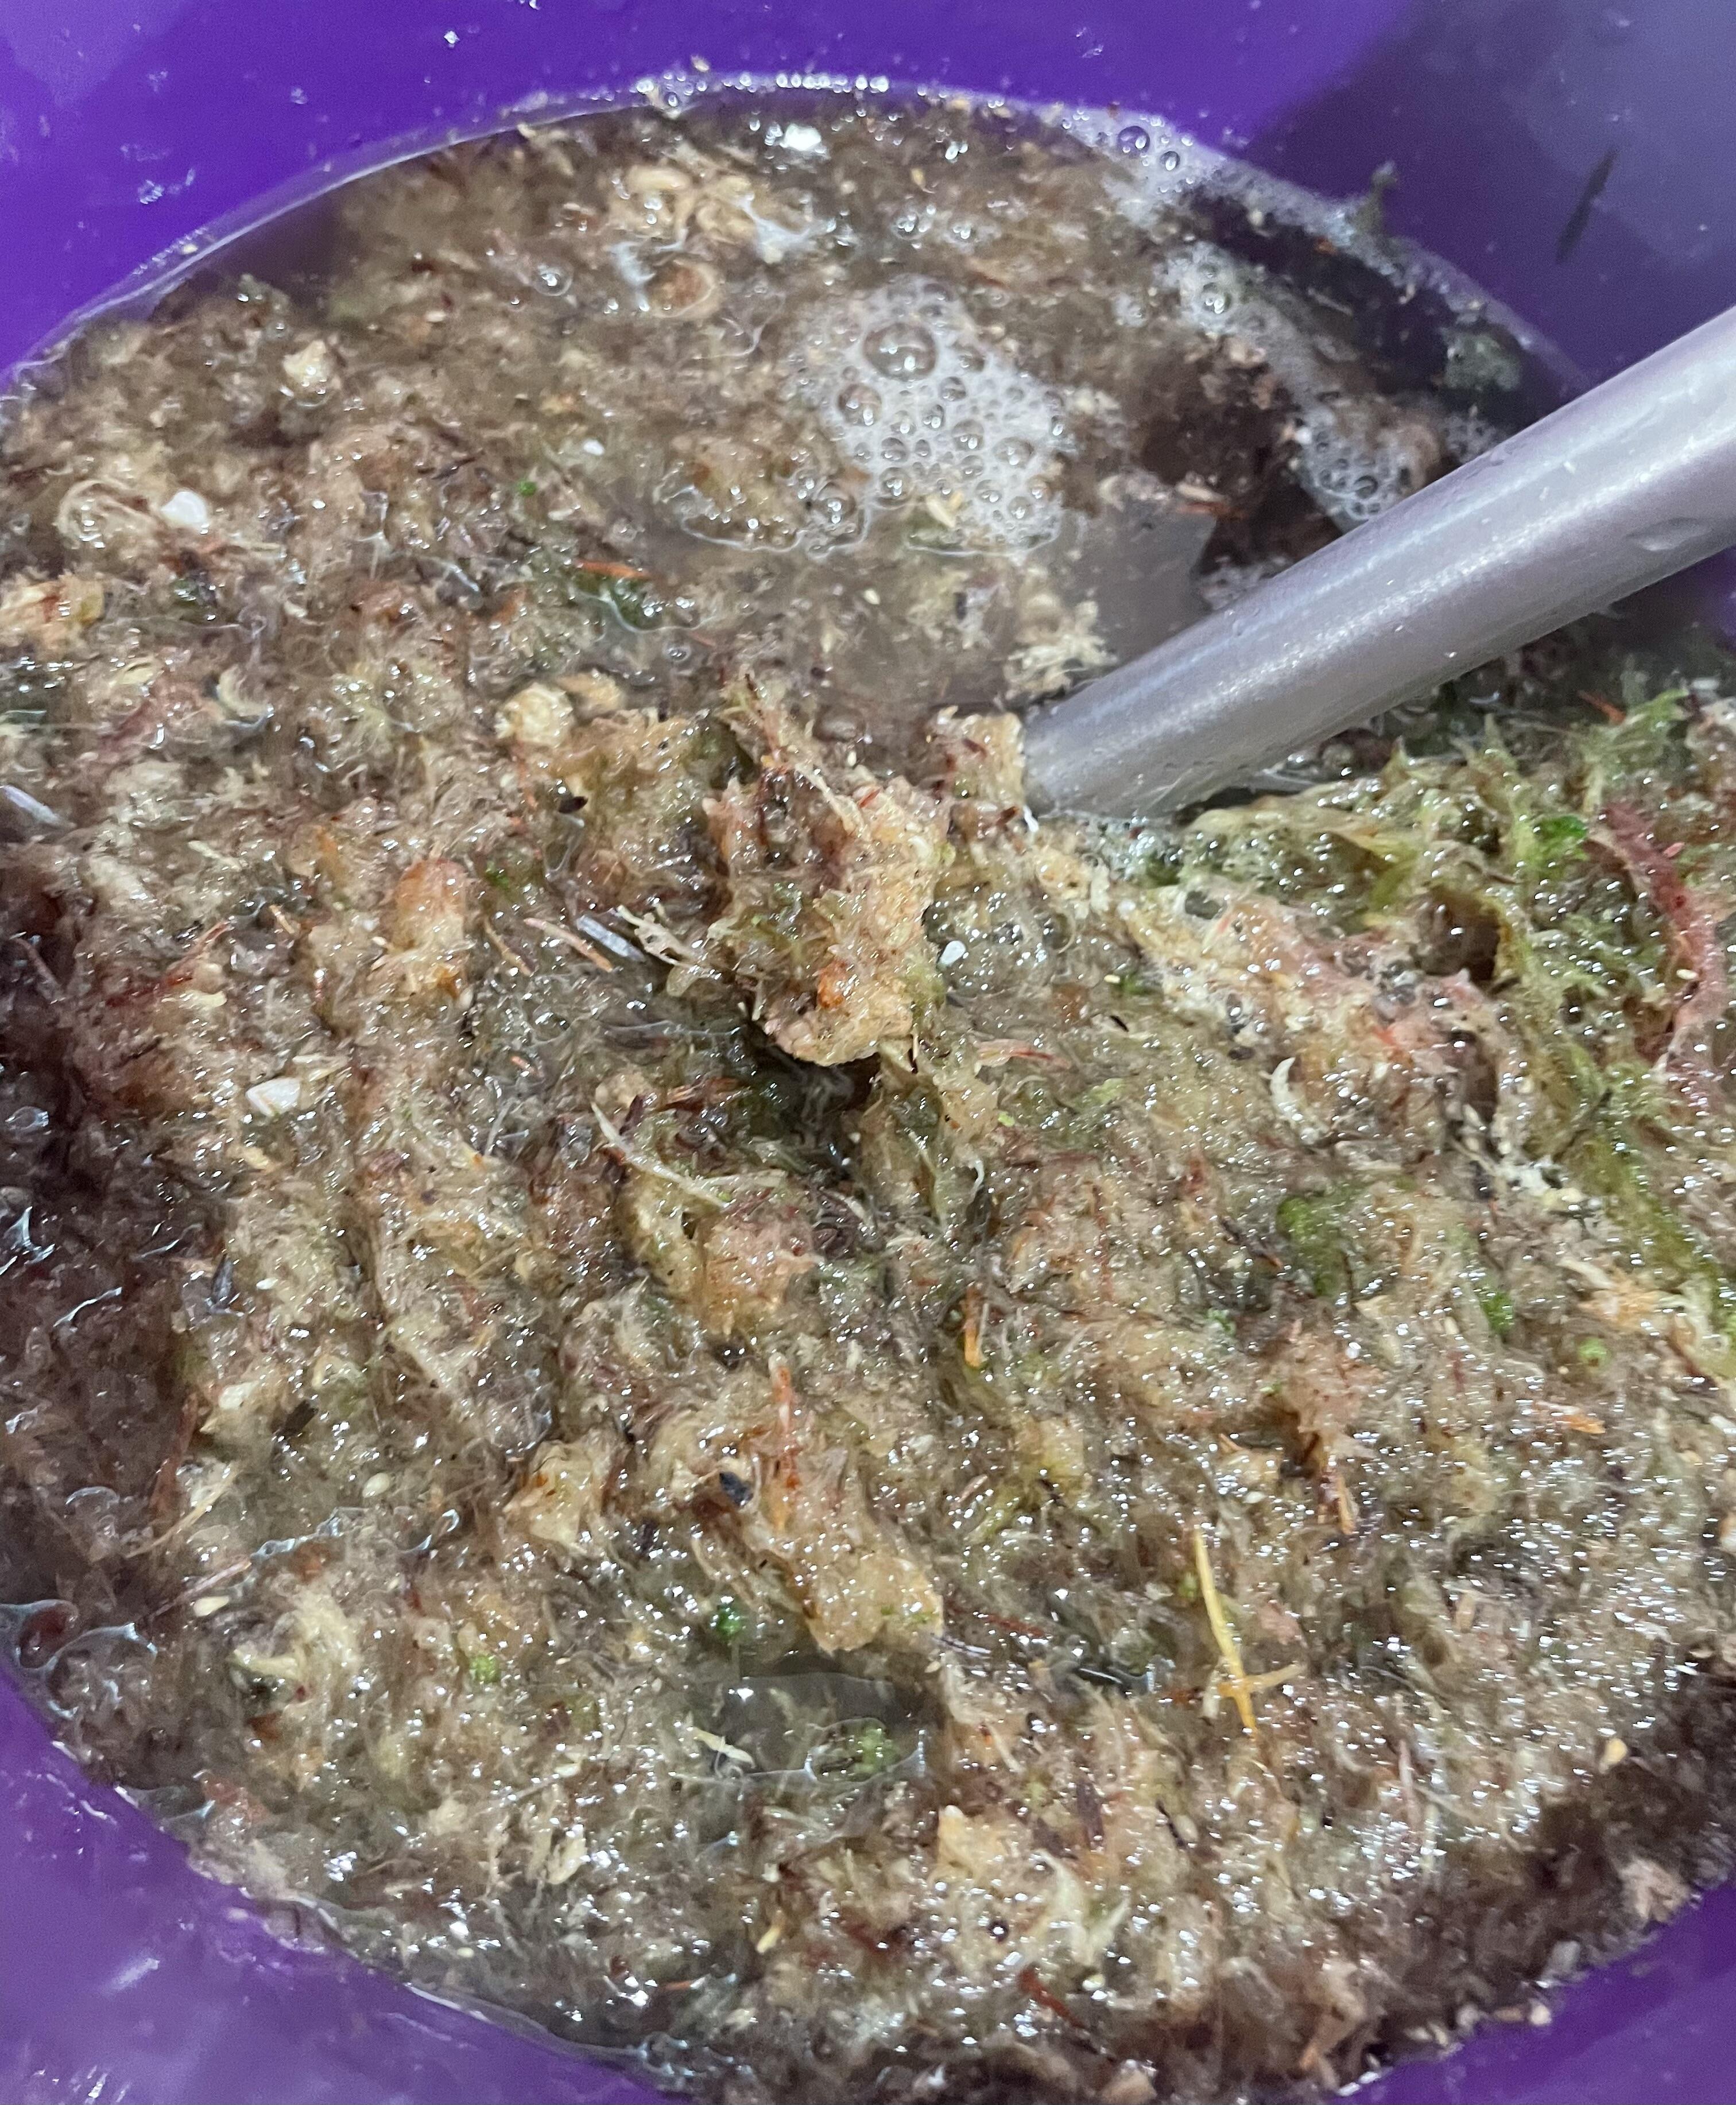
Step 5: blend!
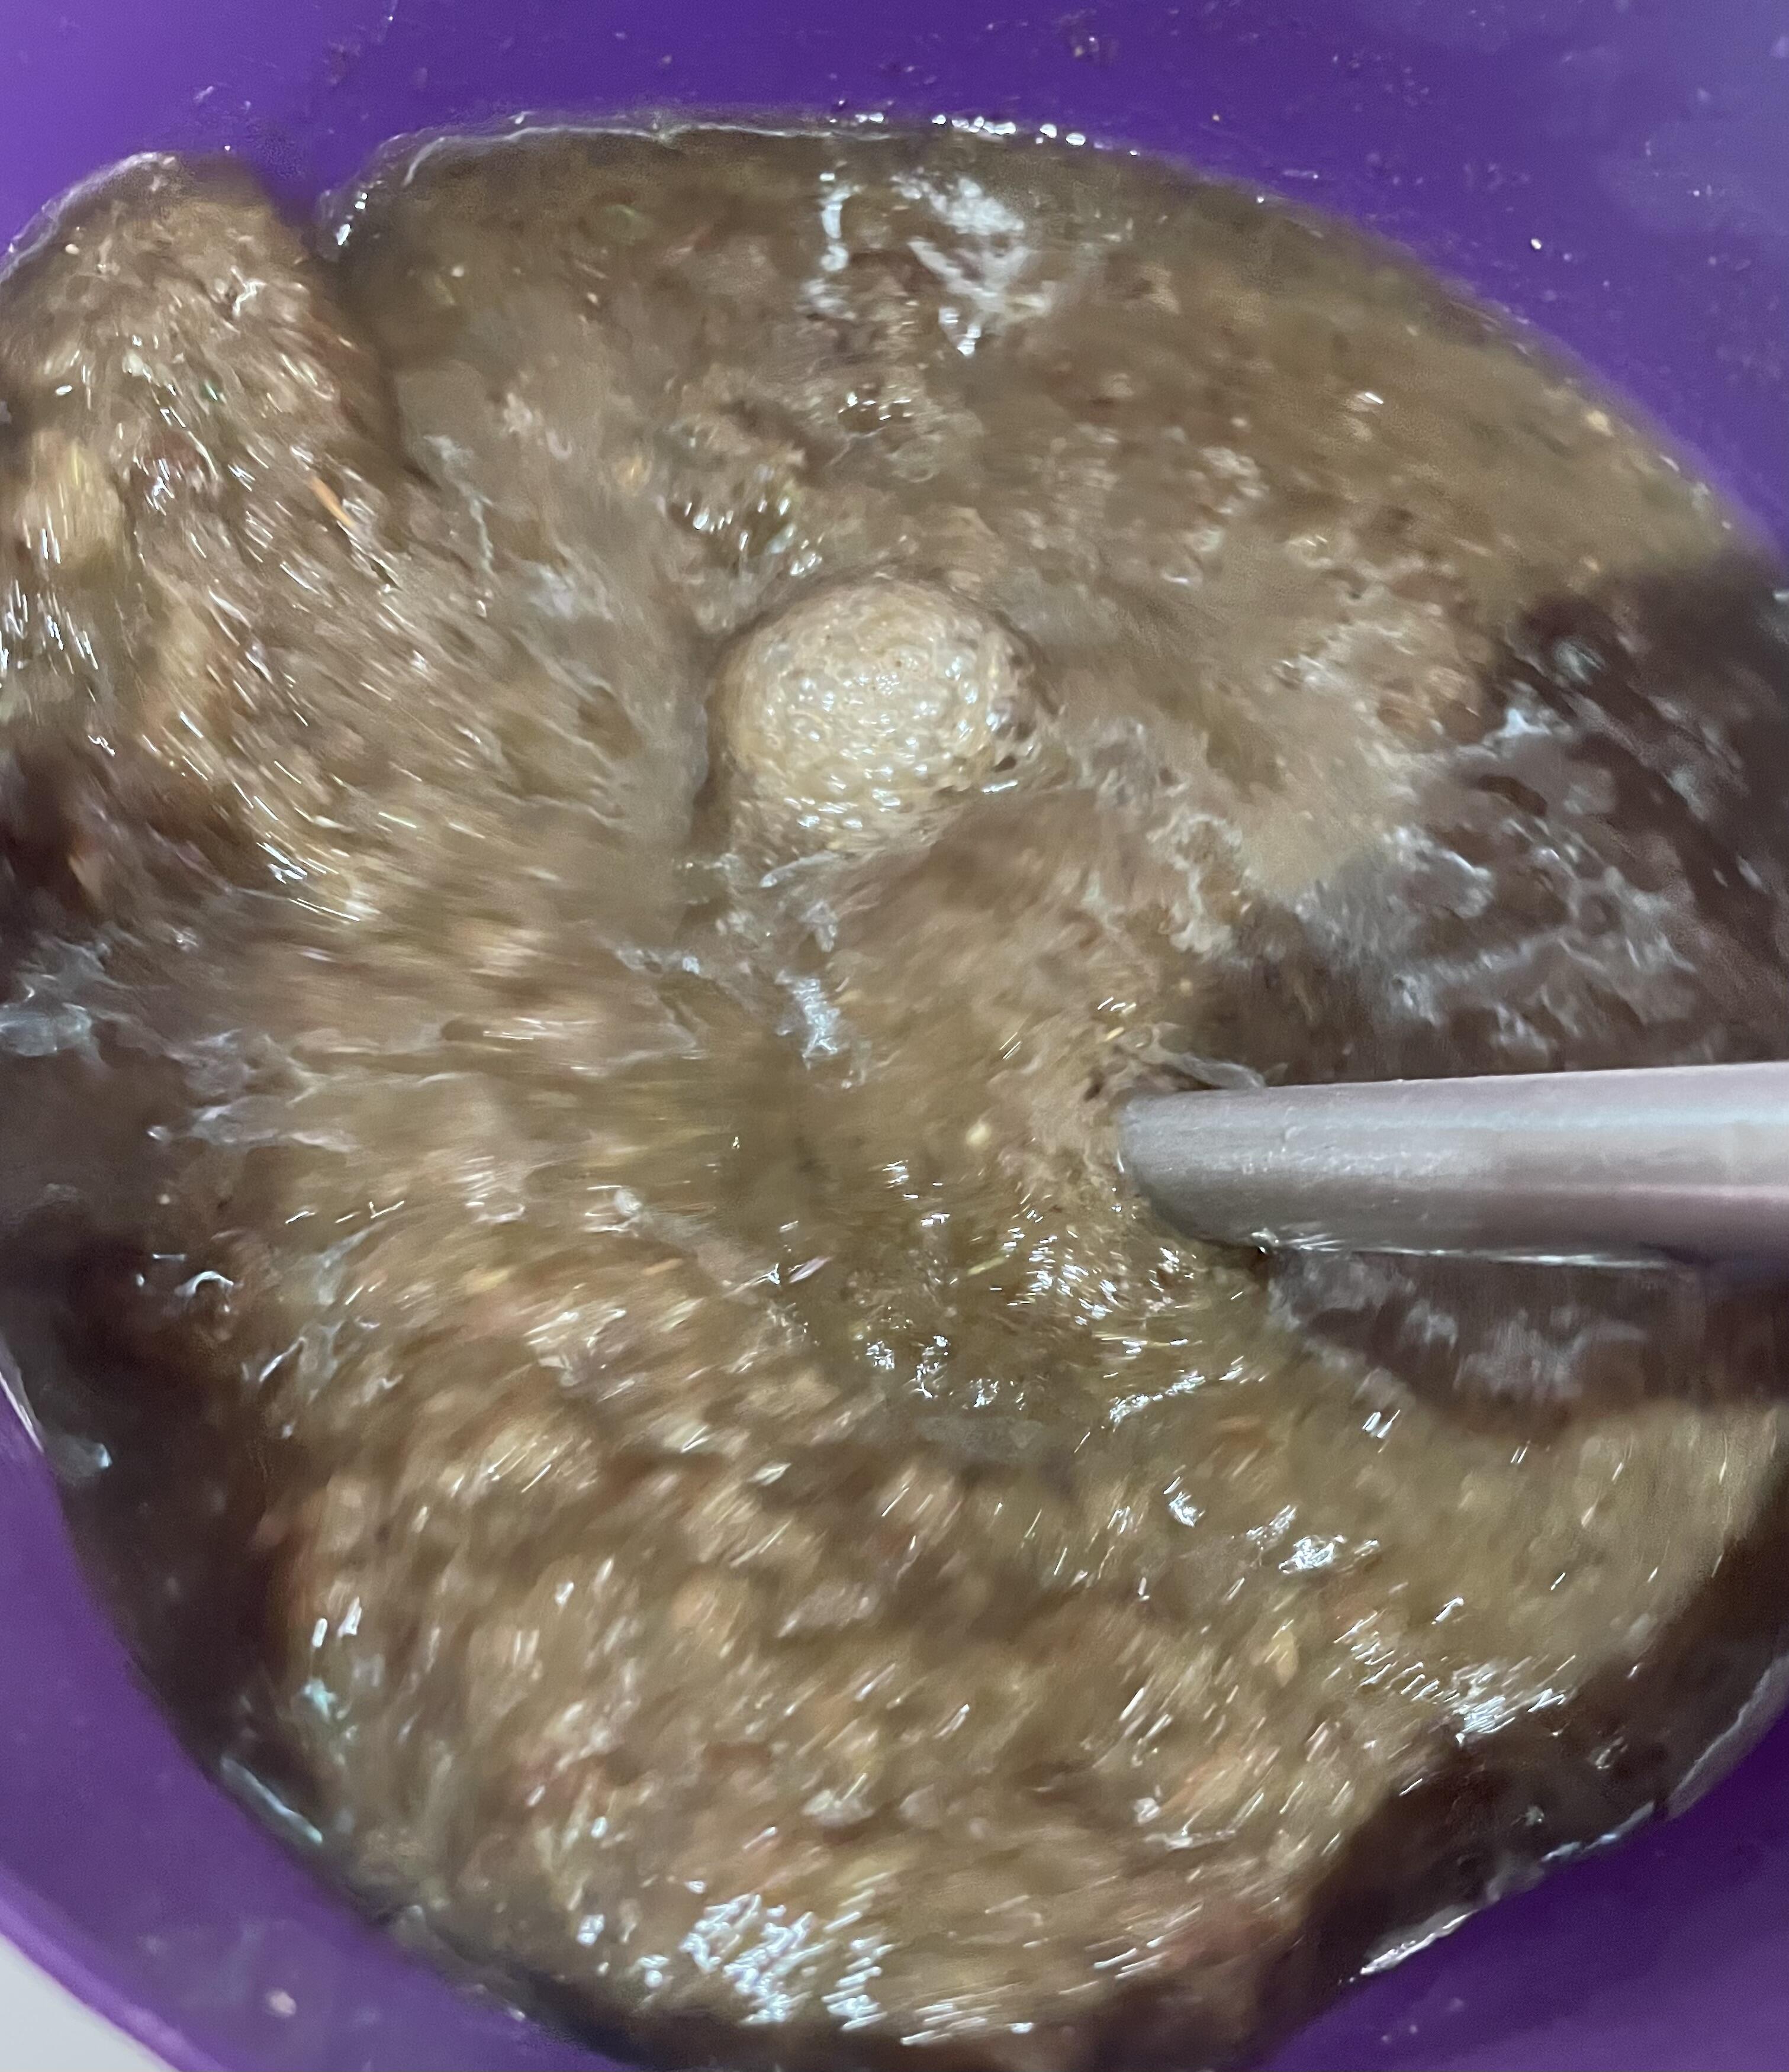
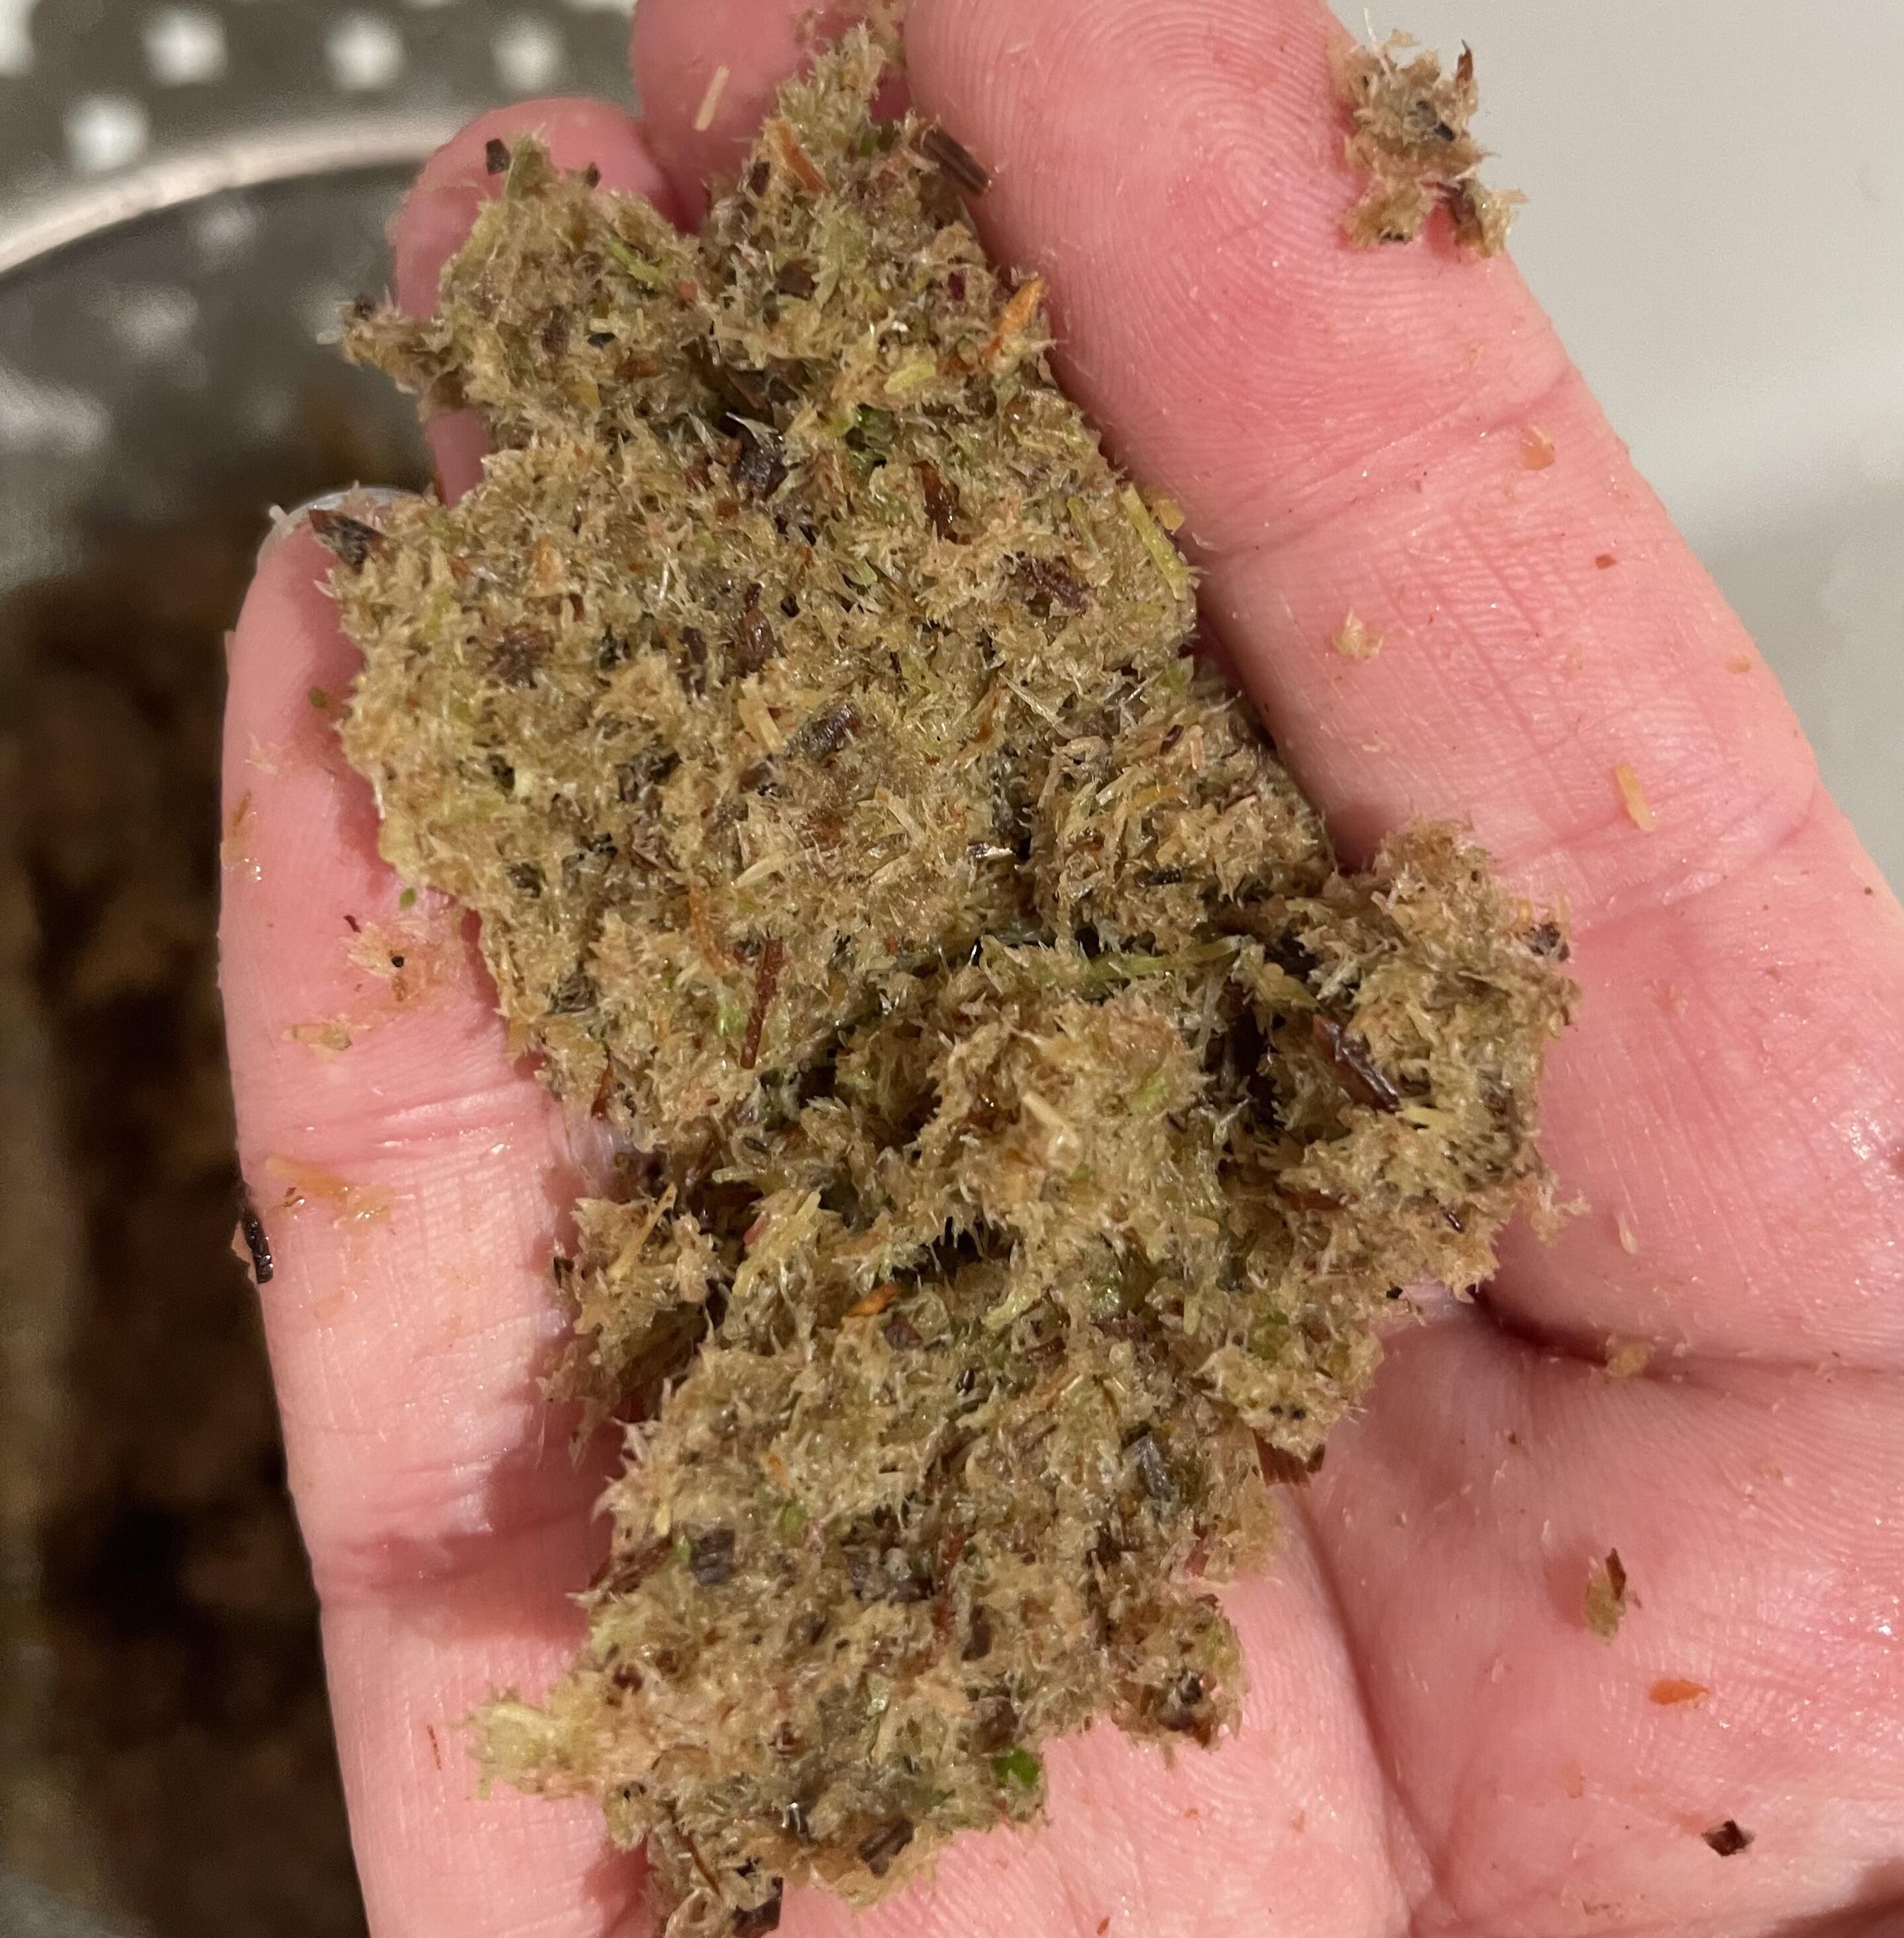
Step 6: pull out a handful, squeeze out the water and check the consistency. You want it to fall apart when you rub it.
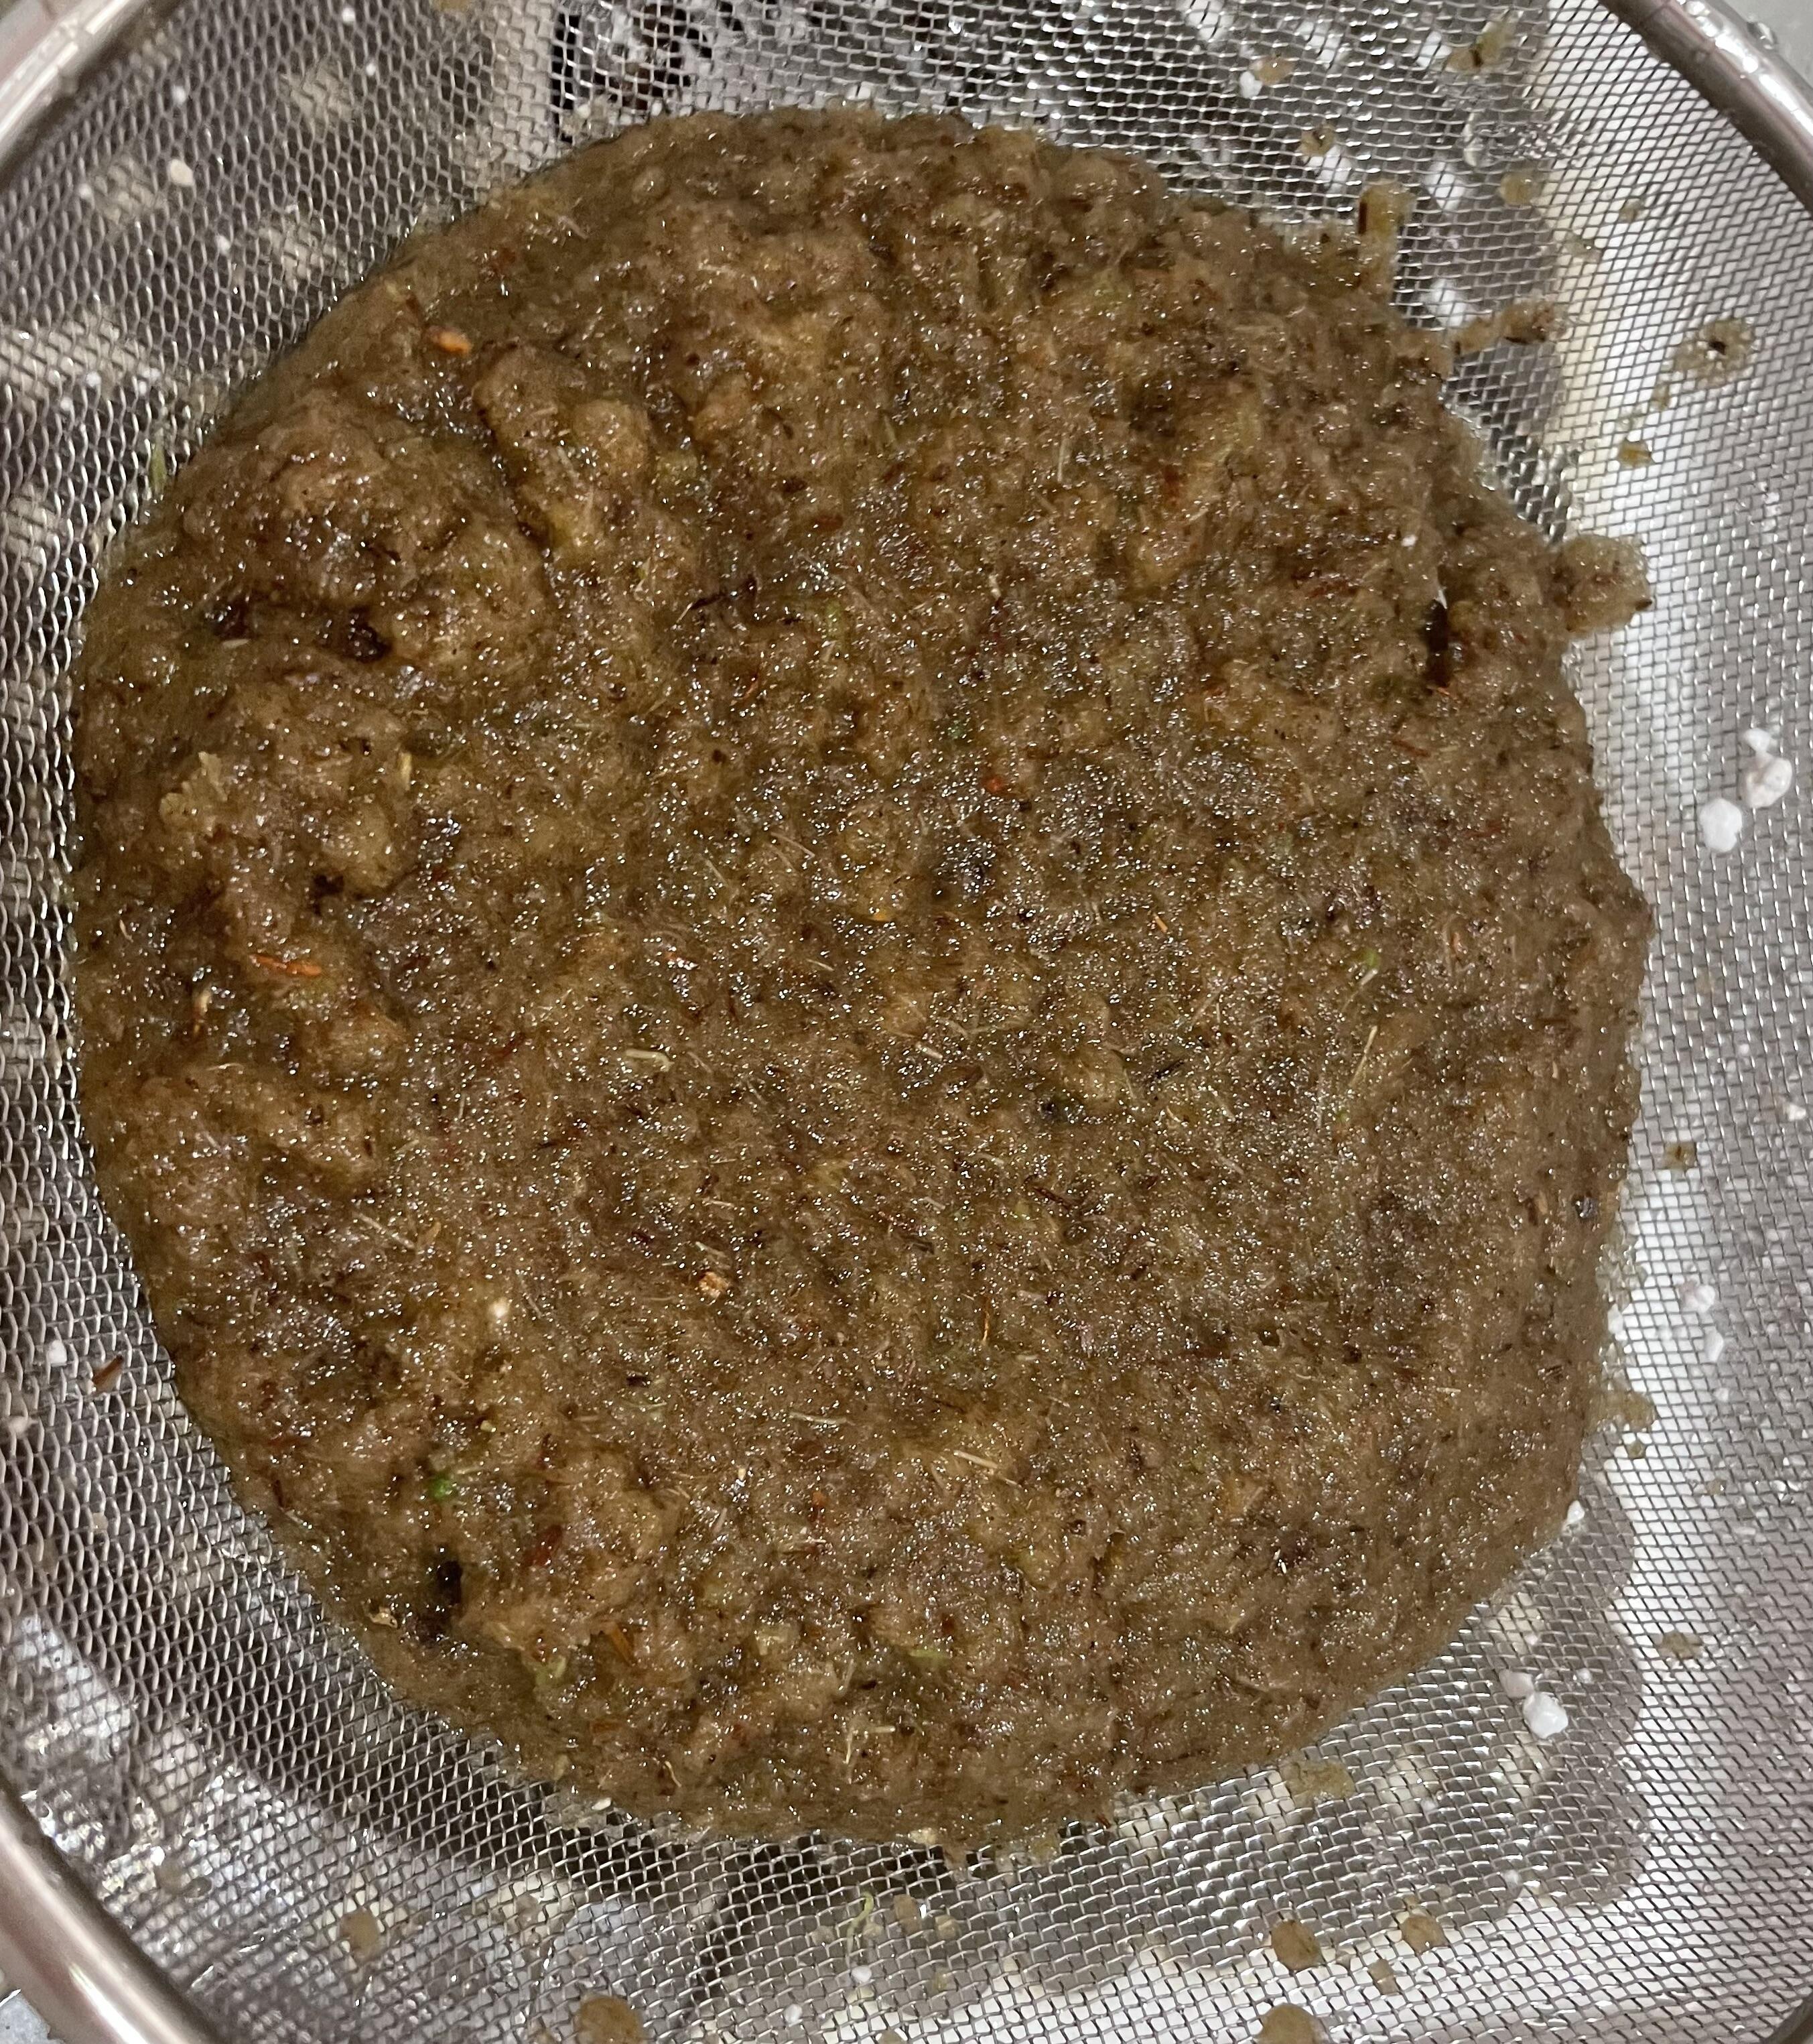
Step 7: pour into your colander or sieve (yup, it looks pretty disgusting).
Step 8: squeeze the water out and add it to your tub.
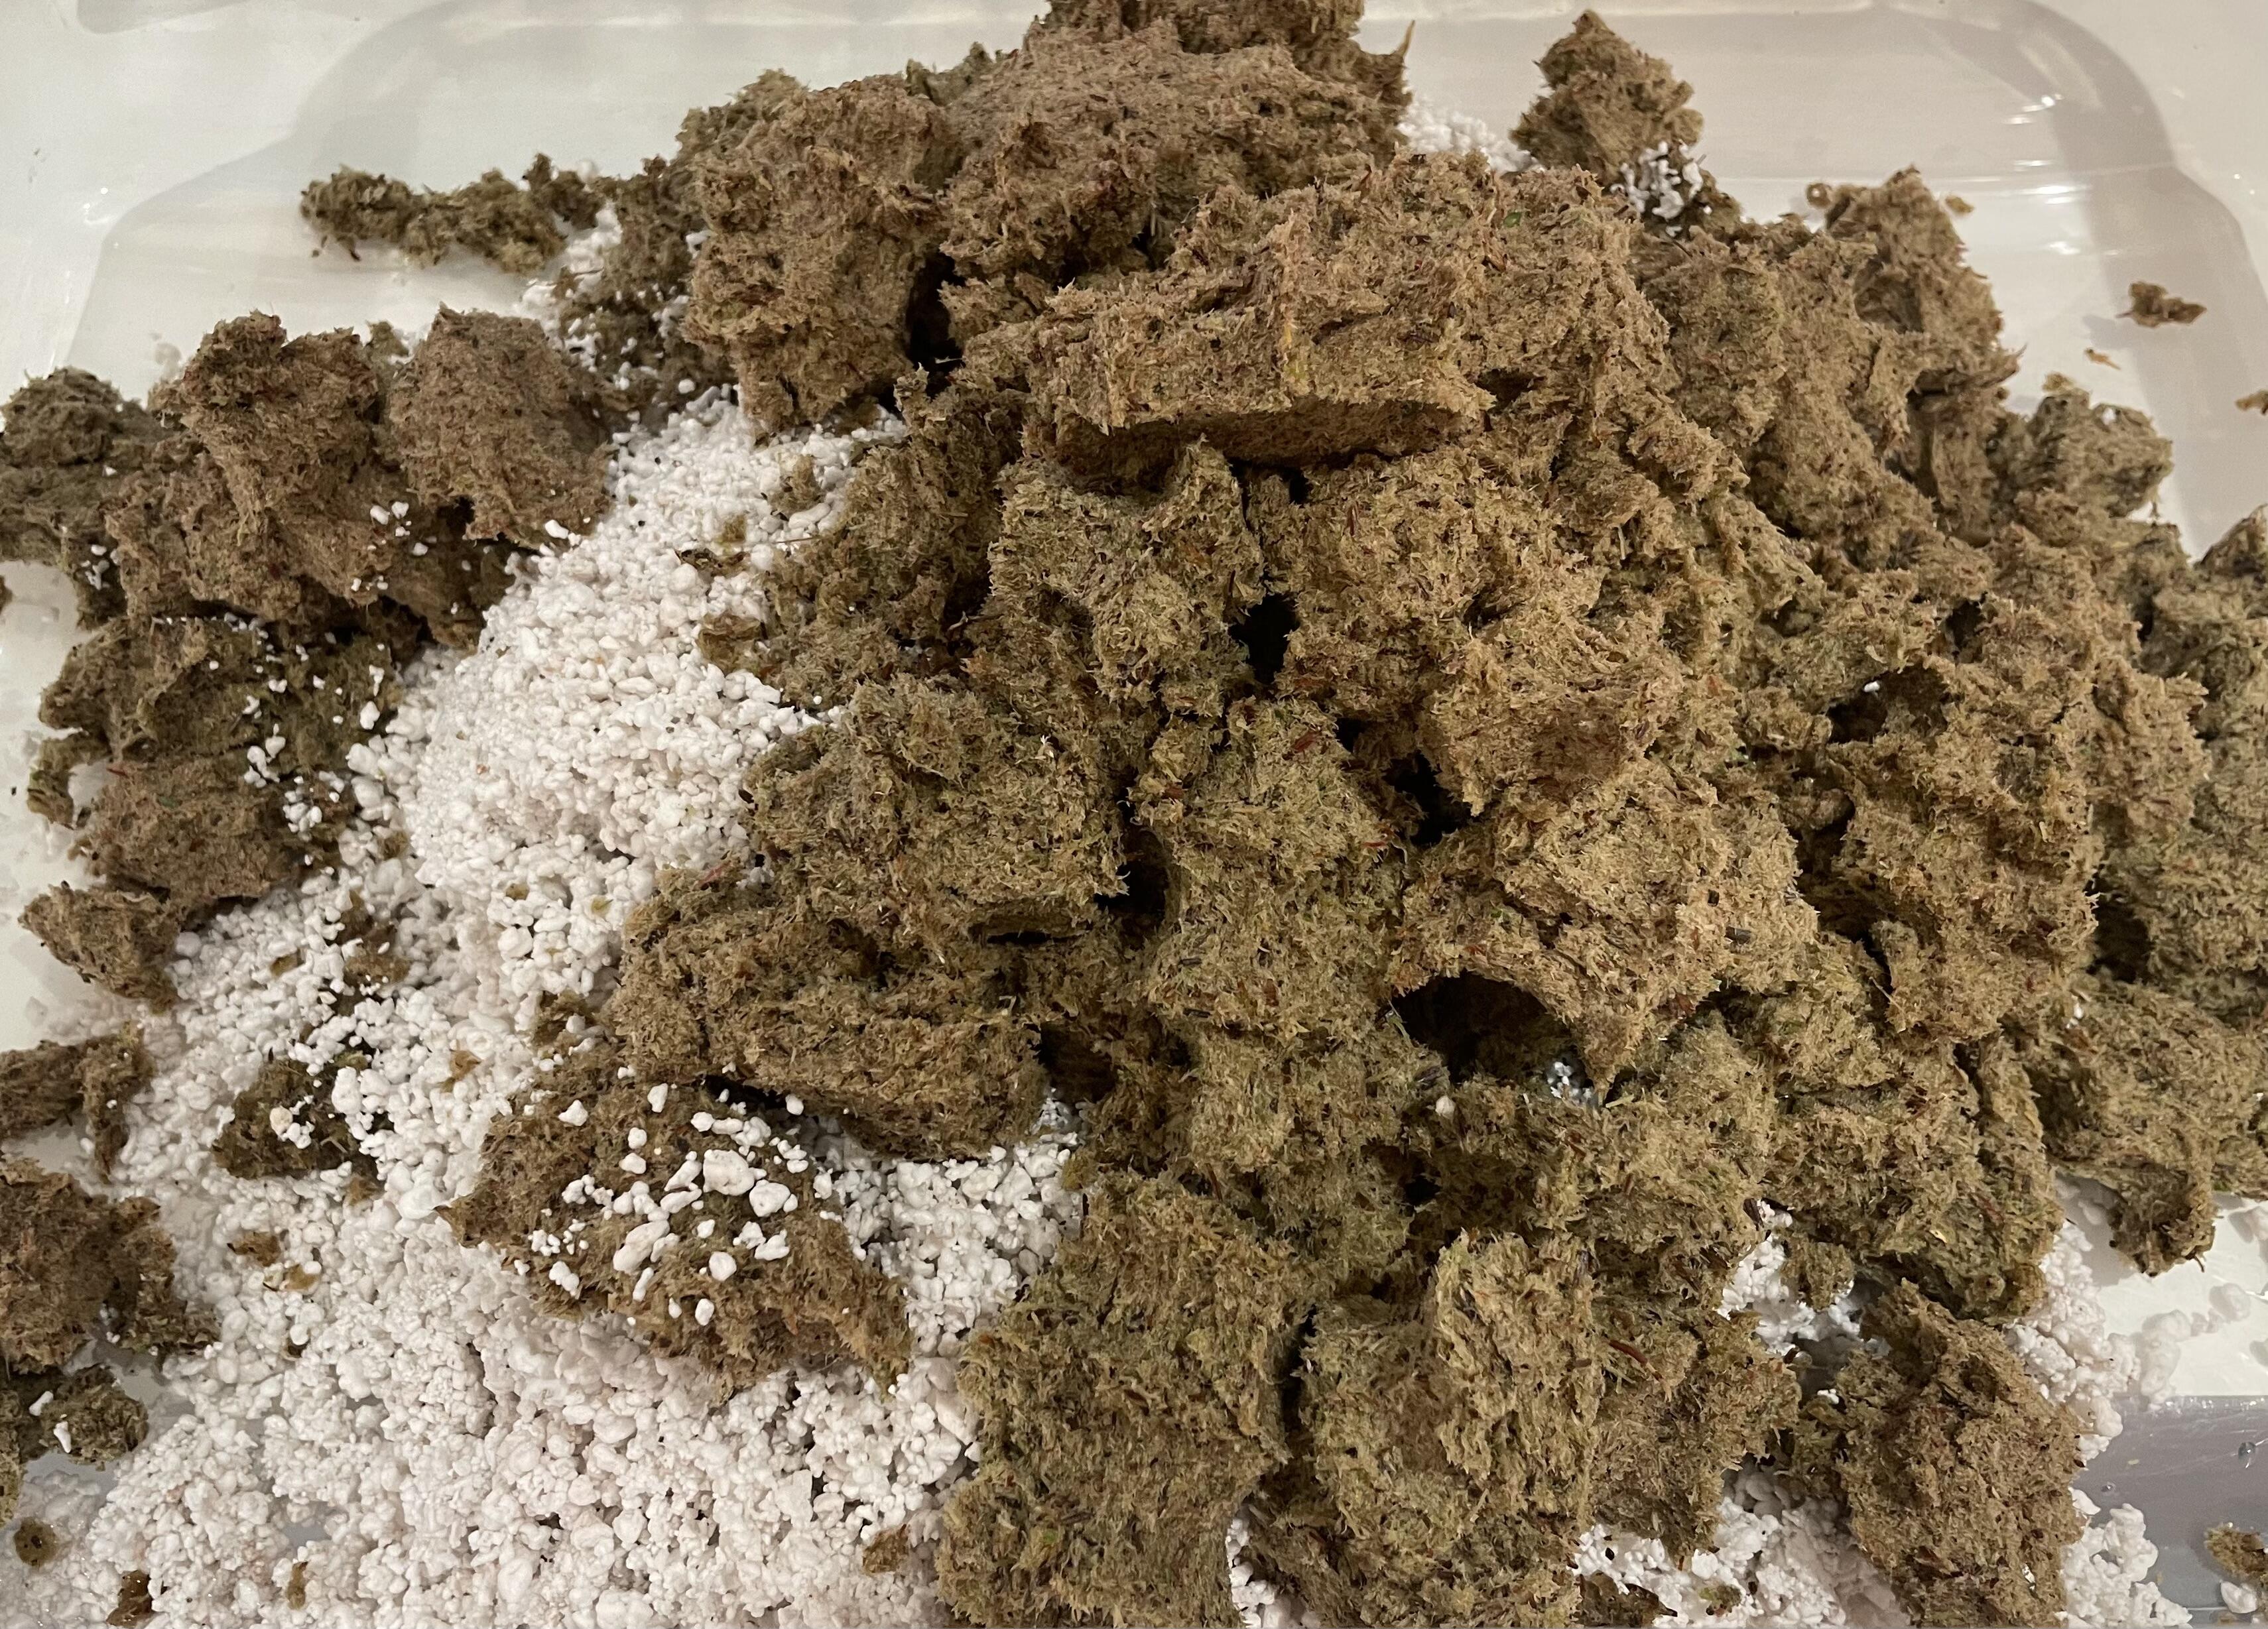
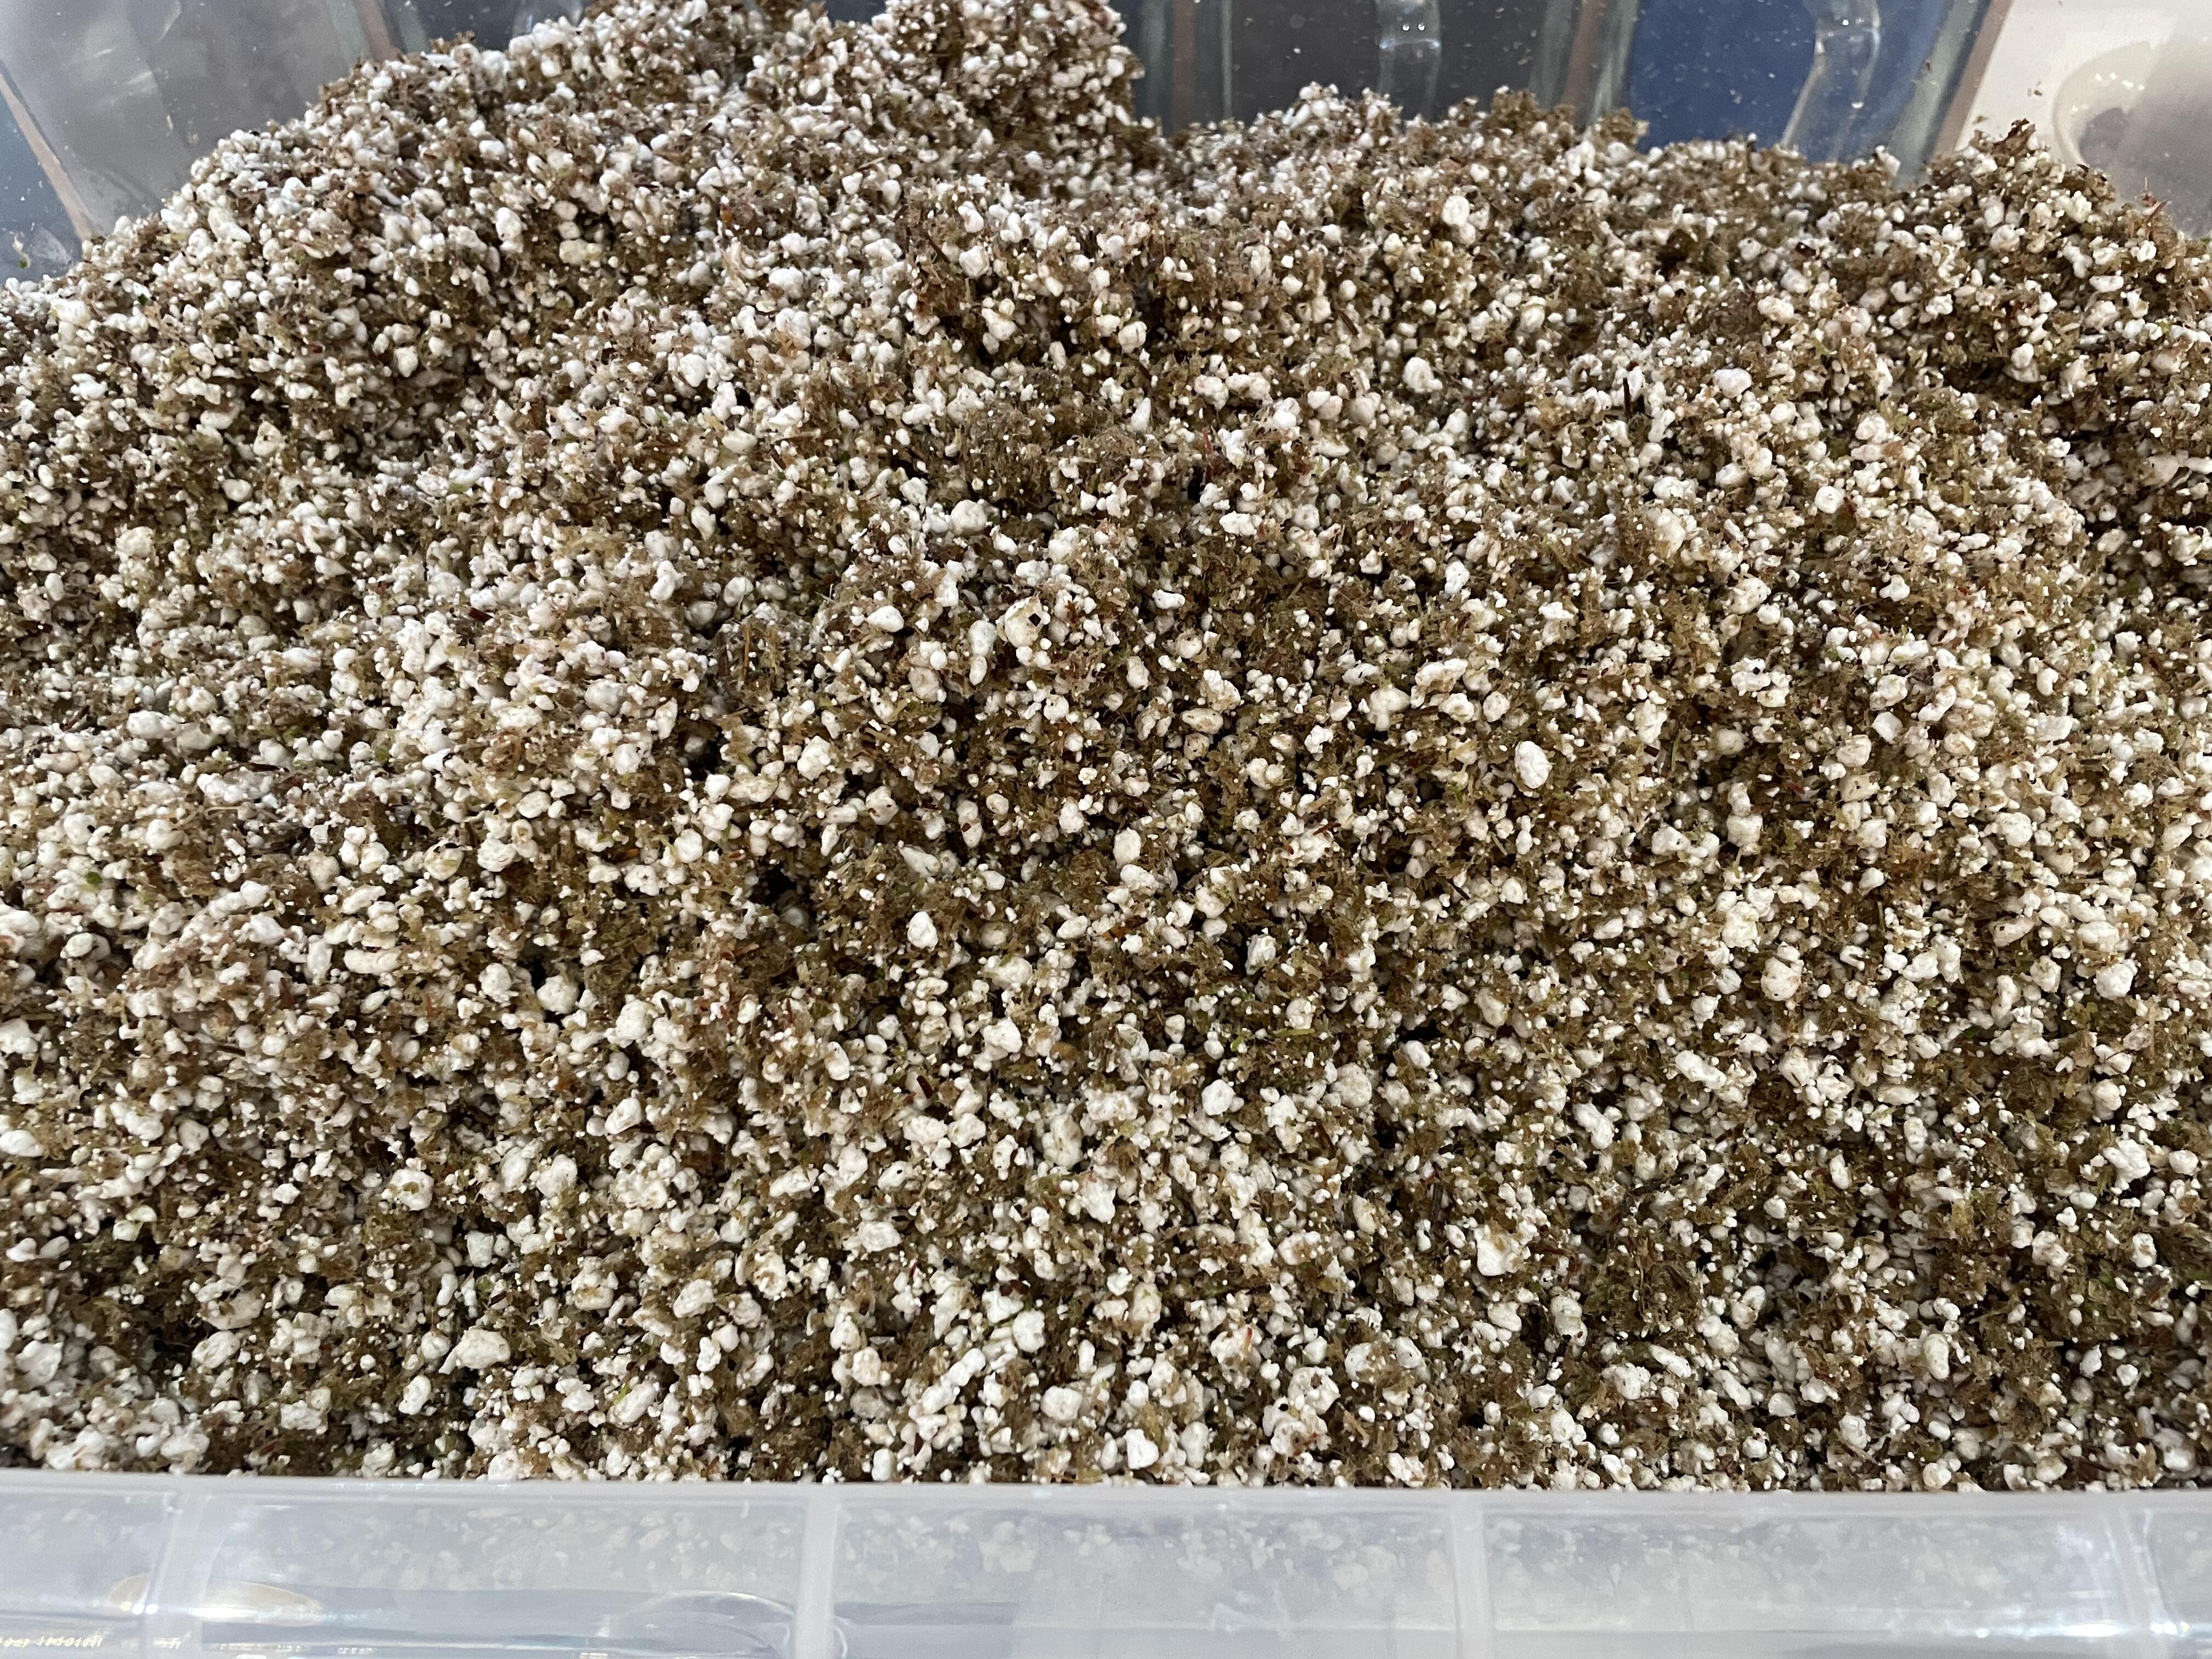
Step 9: ‘rub it in’ as if you’re rubbing fat into flour to make pastry. You want to separate the clumps and end up with a nice airy, crumby mixture.
This is what you should end up with:
Now clean up the spray from your walls and ceiling and get in the shower. Oh, and label the blender / bowl / colander you’ve used as you really don’t want them to be used for anything else.